Using the Visual Editor
It’s easy to edit this site! Anyone can contribute content to our site using our visual editor backend. All you need is a GitHub account. You don’t have to know how to code or use GitHub.
The visual editor is optional. If you’re comfortable working with code, you can edit the .mdx files directly in your fork and submit a pull request.
Step 1: Set up an account
Section titled “Step 1: Set up an account”-
Create a GitHub account if you don’t have one already. Depending on your risk tolerance, you might consider creating an anonymous GitHub account if you prefer to keep your identity separate from your contributions.
-
Copy the repository to your GitHub account.
Copy the repository
-
Install the app to connect your GitHub account to the visual editor. Give it permission only for the Activist Checklist repository you just forked.
Install Activist Checklist Keystatic app
Step 2: Using the visual editor
Section titled “Step 2: Using the visual editor”-
Open the visual editor.
Open the visual editor
-
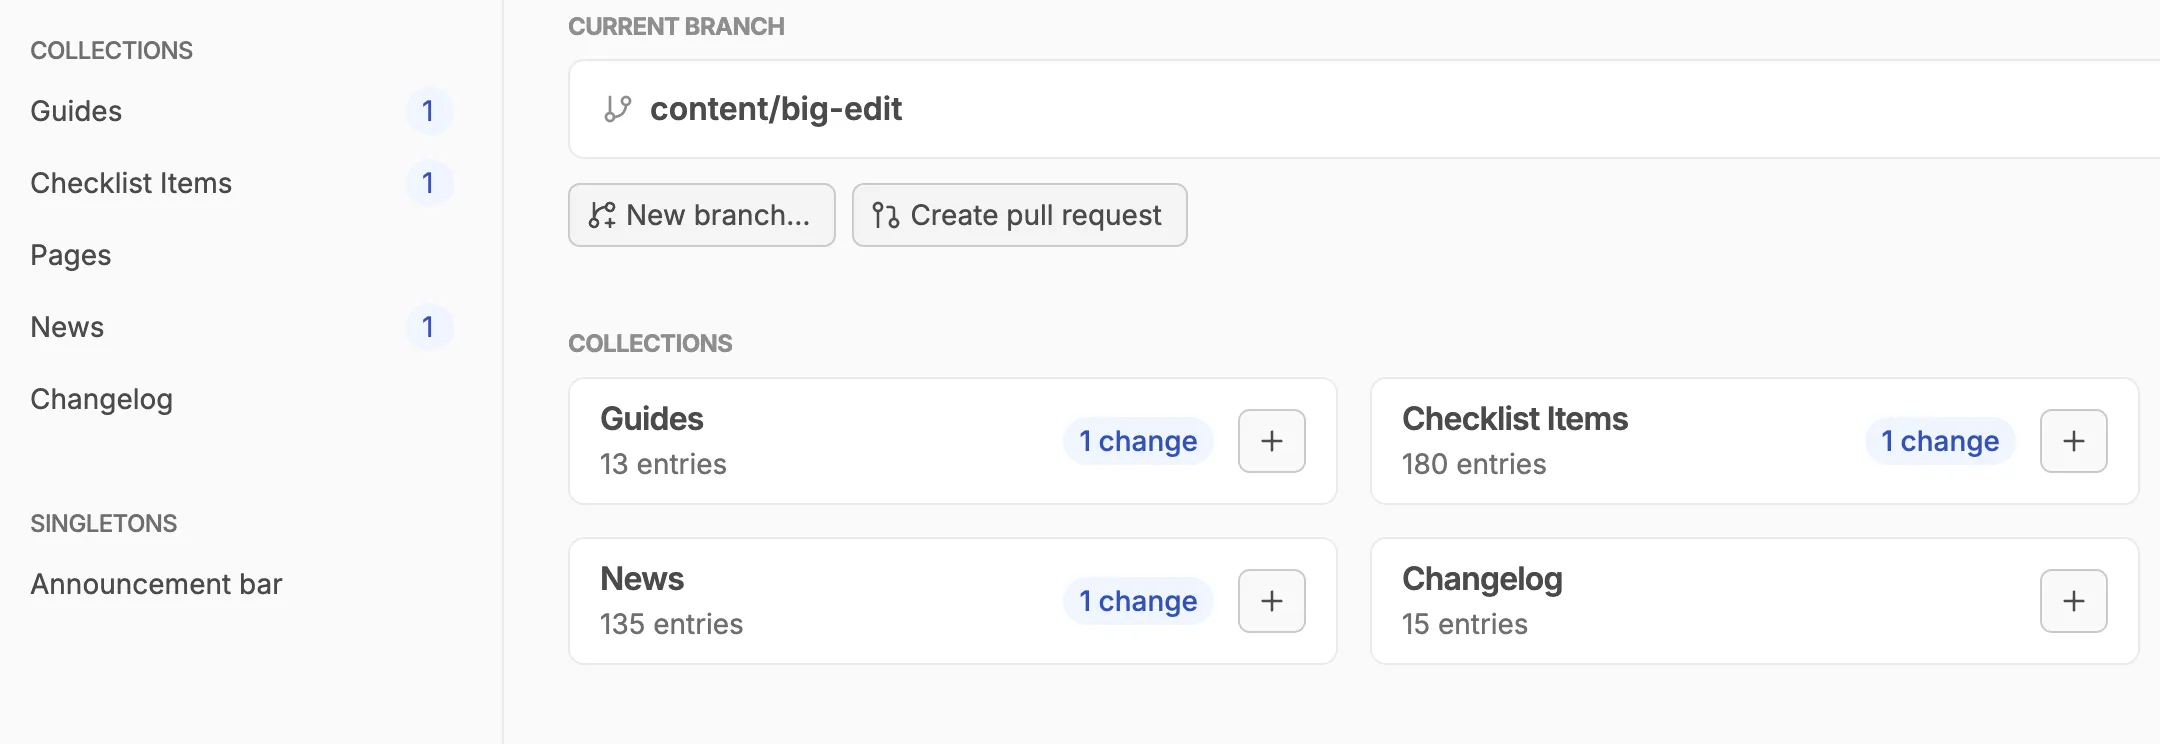
Click “New branch…” and use a short name that describes the changes you plan to make.
-
Make your edits. Find the guide or page you want to edit. If you want to edit a checklist item within a guide, open that guide first, then open the checklist item from there.
-
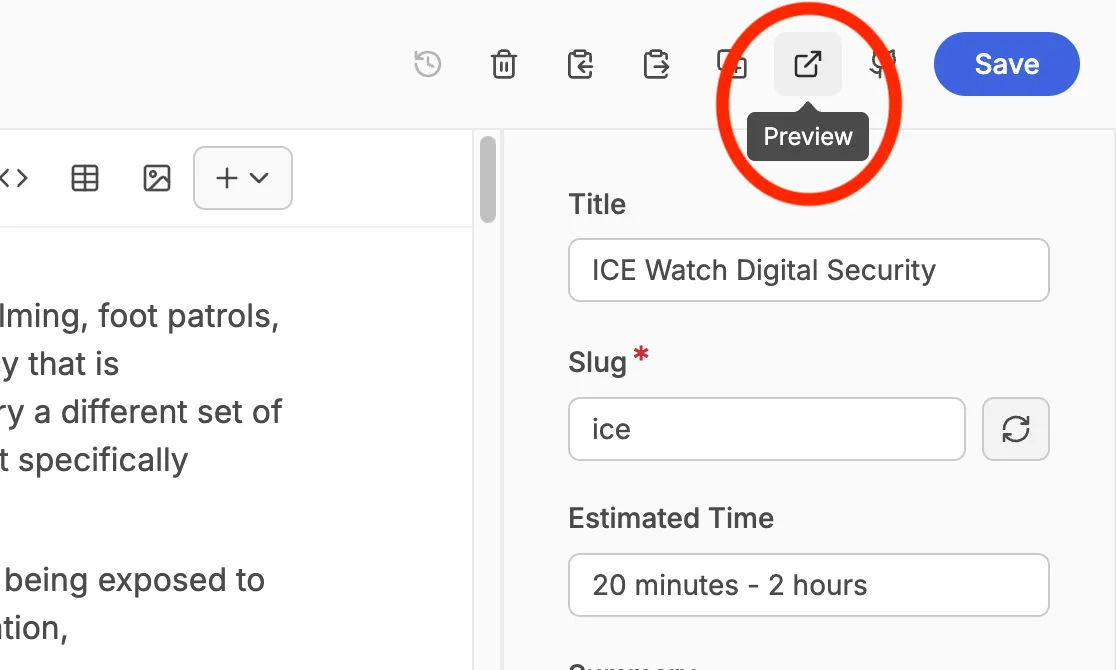
Preview (optional) by clicking the Preview button to see the site with your changes.
-
Click “Create pull request” when you’re ready to submit your changes for review. We’ll communicate in the pull request thread if any adjustments are needed before publishing.
